How to Use Nano Banana in Your AI Animation Workflow

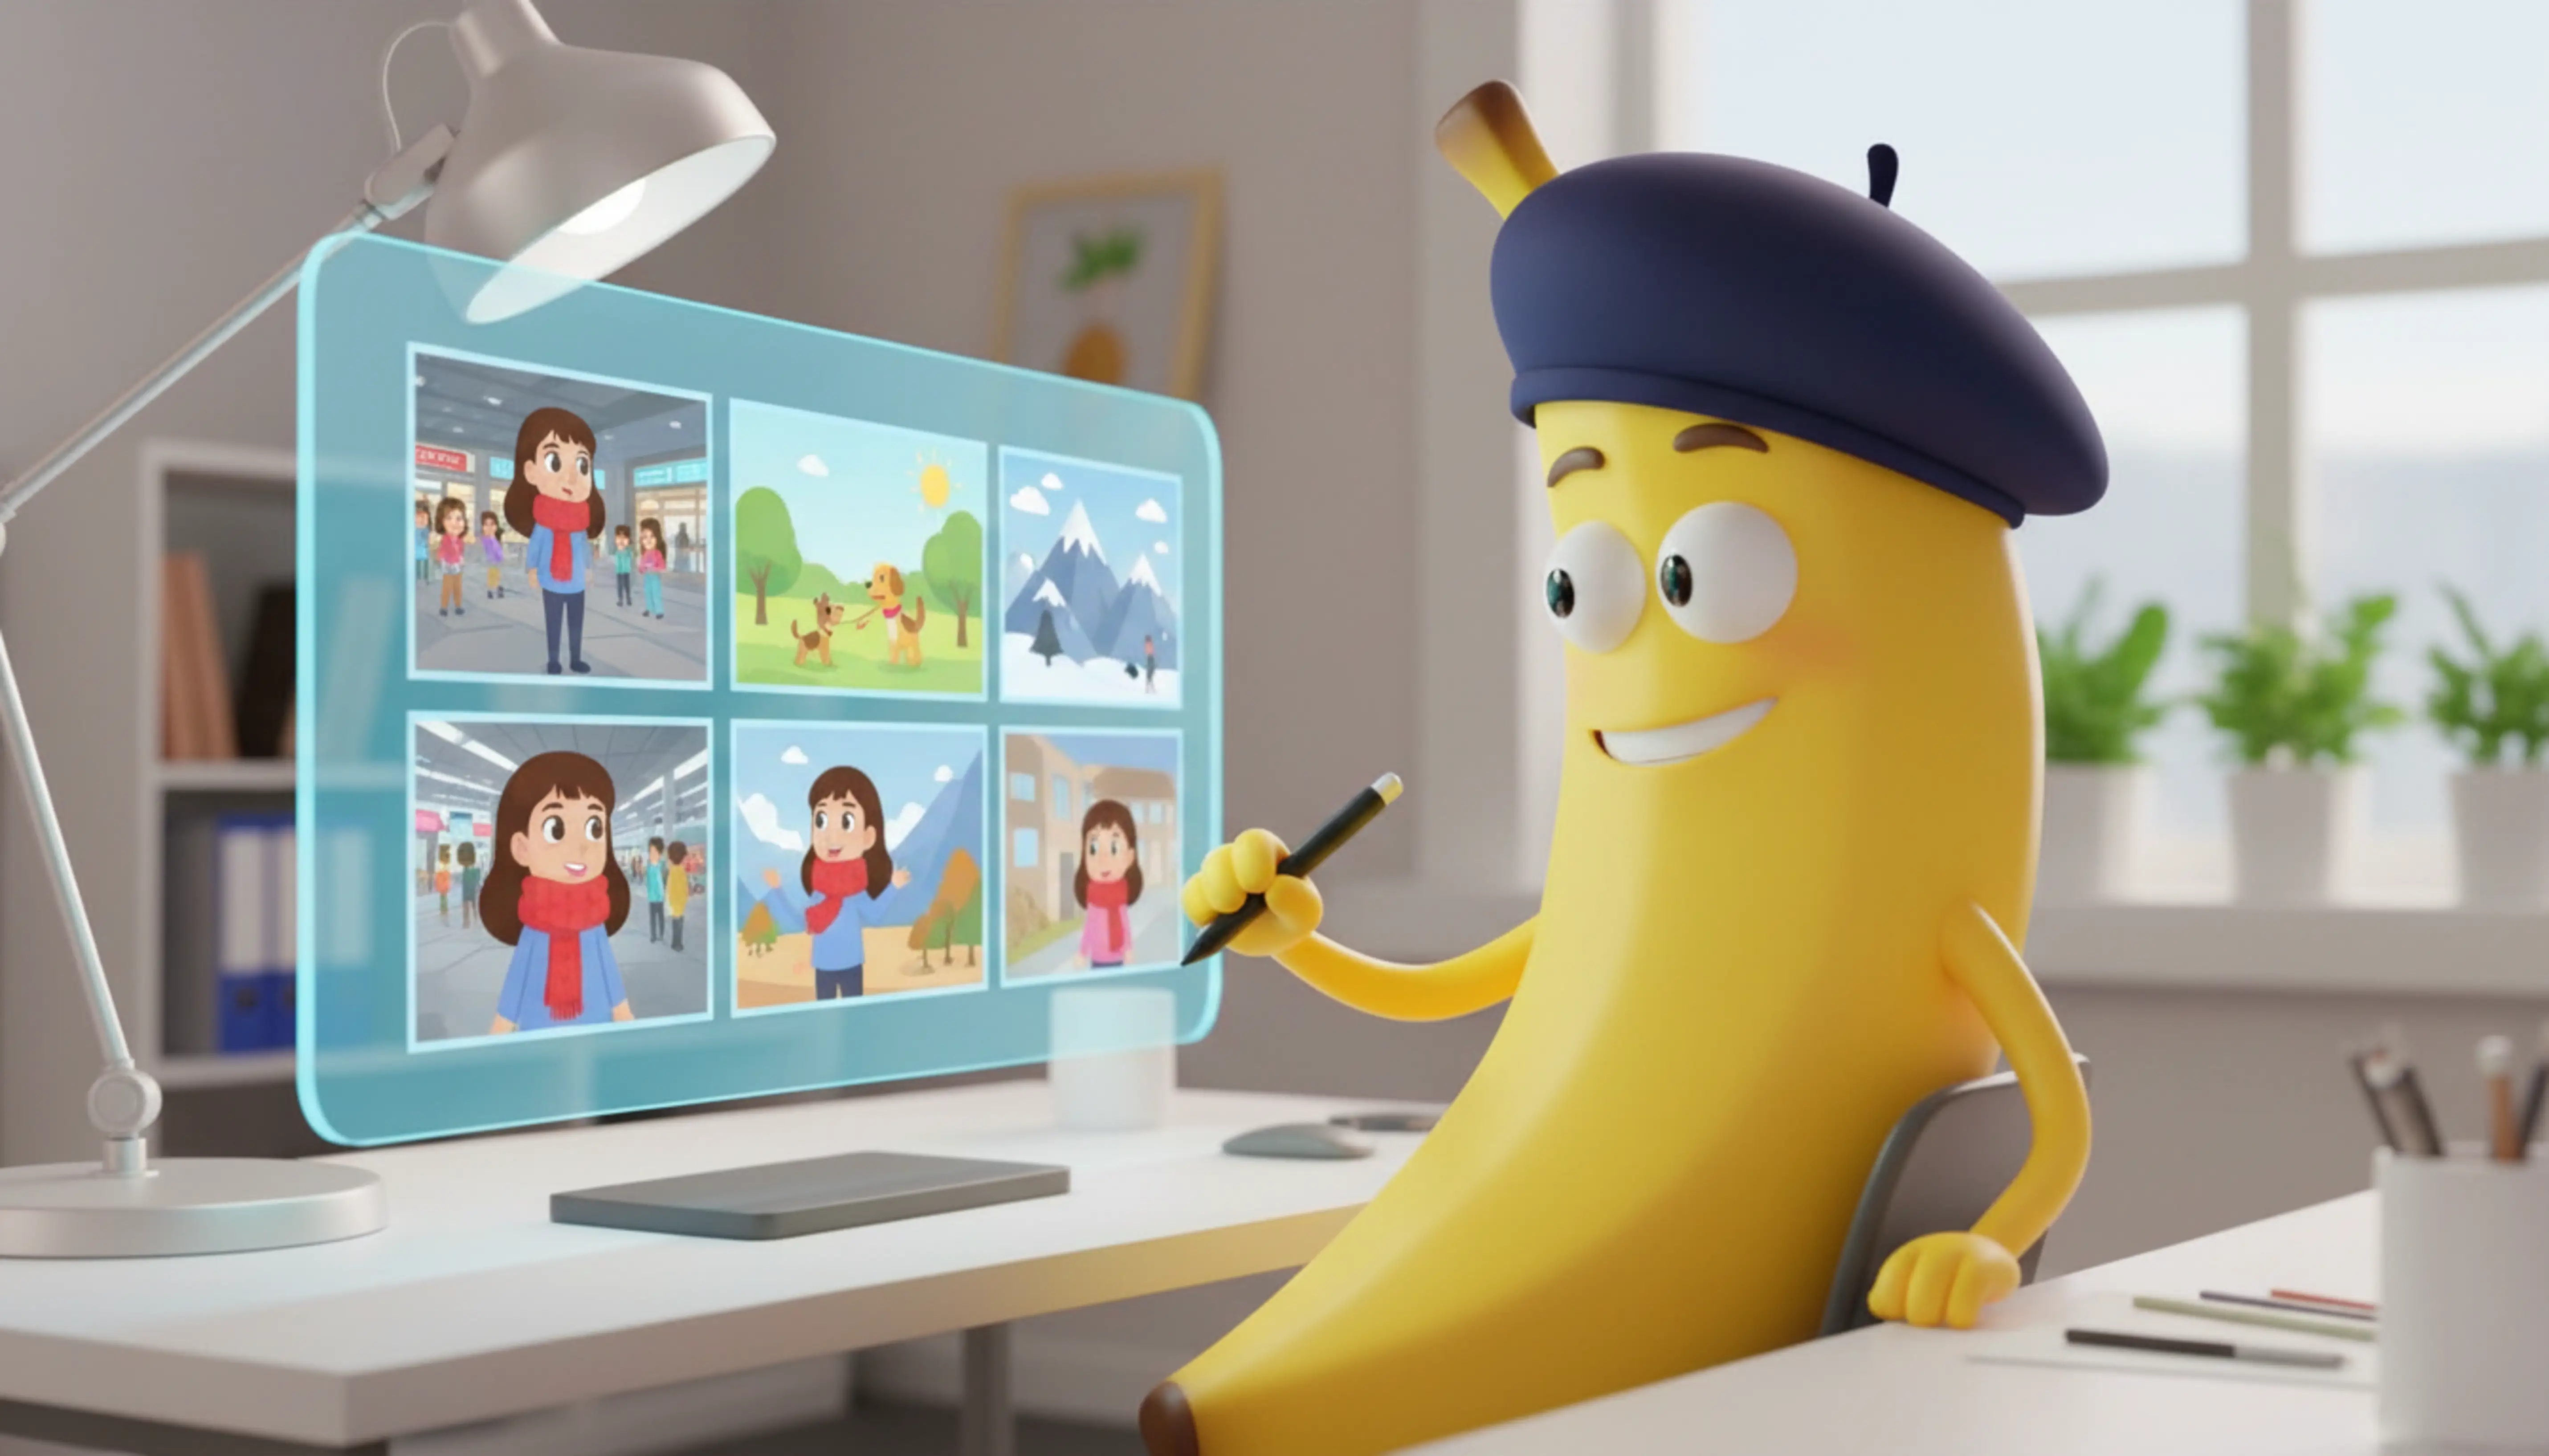
Gemini 2.5 Flash, also known as Google Nano Banana, is revolutionizing AI workflows with its incredible ability to maintain character consistency across multiple images.
This makes it a perfect tool for creating sequential scenes for an animated story.
While our previous guide focused on using this tool for incredible static product photography, this workflow takes it a step further into motion.
Here is a step-by-step guide to generating a multi-scene animated story from just one or two source images.
The Core Concept: Consistent Characters
The magic of this workflow is Nano Banana’s ability to edit a character into entirely new scenes and poses without losing their core identity.
You can start with a simple image of a person and generate a series of story moments:
- Source Image: A man in a suit.
- Scene 1: The man now wears a hat and holds a briefcase at a train station.
- Source Image 2: A young girl.
- Scene 2: The same girl is now sitting on a bench at the station.
- Scene 3: Both the man and the girl appear together in a new composition.
Each character remains perfectly recognizable, allowing you to build a coherent narrative.
Step 1: How to Access Nano Banana (The LM Arena Method)
Since the model is not yet officially released, the primary way to access it for free is through a testing platform called LM Arena.
- Go to the Website: Navigate to
lmarena.ai. - Select Image Generation: On the homepage, choose the “Generate Image” option.
- Understand “Battle Mode”: LM Arena works in a “battle” format. You will enter a prompt, and two different, anonymous AI models will generate an image. You then vote for the one you think is better. After you vote, the platform reveals which model created which image. You will have to repeat prompts until one of the models revealed is “Nano Banana.”
- Upload and Prompt: Upload your source image (e.g., the picture of your character) and write your prompt.
Step 2: Generating Your Story’s Scenes
This is where you build the visual narrative, image by image.
- Create the First Scene: Upload your character’s image. Write a prompt describing the new setting and any changes.
- Example Prompt: “Change her sweater to a white winter jacket and place her out by the mountains in snow.”
- Generate a Second Scene: Continue using the same source image to place the character elsewhere.
- Example Prompt: “The girl is sitting down on a bench eagerly waiting for someone in a train station.”
- Introduce and Edit Other Characters: If you have a second character, upload their image and modify them for the story.
- Example Prompt: “The man has his hands on his hat. He is holding an old briefcase in his left hand. Add a street tram and a train station to the image.”
- Combine Characters in One Scene: To bring your characters together, upload an image of one character and describe the interaction with the other.
- Example Prompt: “Using the side profile of the girl sitting on the chair, the man stretches forth his hands to pick up his daughter.”
Repeat this process to generate all the keyframes or scenes needed for your story.
Step 3: Animating Your Scenes
Once you have your series of consistent still images, you need an image-to-video tool to bring them to life. This guide uses RunwayML, which has integrated Google’s Veo model.
- Upload a Scene: Take one of your generated images and upload it to Runway.
- Write an Animation Prompt: Describe the motion you want to see in the shot.
- Example Prompt: “The man smiles and takes off his hat as the tram passes by. The camera dollies in slowly.”
- Generate the Clip: Runway will animate the image based on your prompt.
- Repeat for All Scenes: Repeat this process for each image you generated with Nano Banana to create all the clips for your animated story. You can then edit these clips together in any video editor.
Advanced Use Cases
This workflow is incredibly versatile. Here are a couple of other ways to use it:
- Change Art Styles: Give Nano Banana a realistic photo and ask it to convert it to a 2D cartoon. You can then continue generating new scenes with that same character in the new cartoon style.
- Product Placement: Place a product into a scene with a character. Upload an image of an actor or model and a separate image of your product.
- Example Prompt: “The basketball player is holding the [product name] drink, pointing to the camera in a hero shot.”